New Technologies for Surface Quality Control
Automatic Surface Inspection of Extruded Profiles
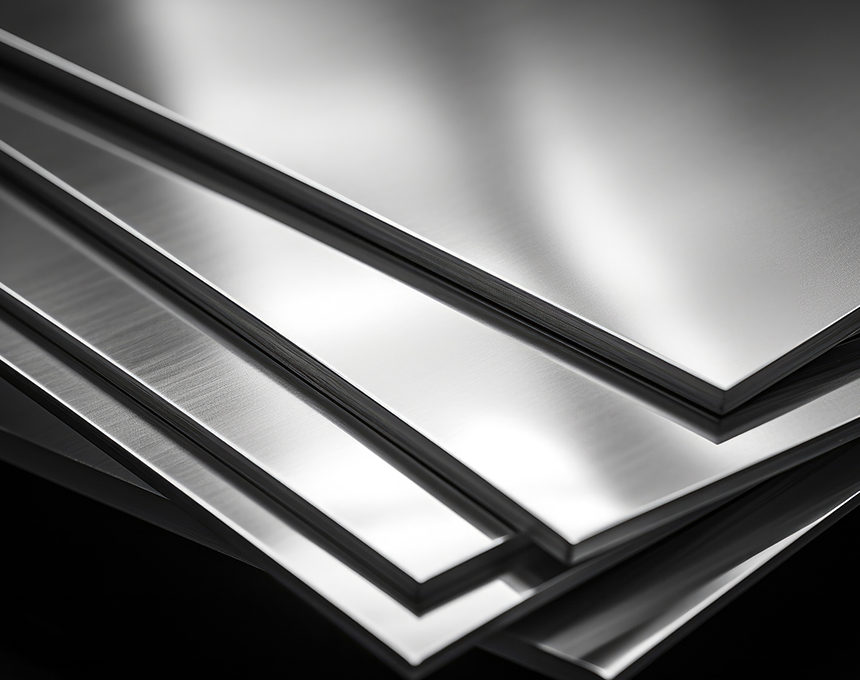
Surface inspection is a standard for many processes in the metal industry: modern and new technologies enable up to 100% quality control and reliable detection with classification of surface mistakes such as scratches, bubbles, wears, and other defects. Despite this, these new tools are rarely used in the production of extruded profiles. These new systems have been specially developed for quality inspection during extrusion. It detects even the smallest deviations and defects in complex aluminium profile geometries. This means that extrusion operators in particular also benefit from the automated surface inspection and receive important data for optimizing processes.
Increasing Quality Requirements for Aluminium Profiles
The demand for extrusion profiles with optical quality is increasing, especially in the automotive industry and decorative applications. The surfaces of aluminium profiles must be free of any inclusions. Frequent causes are unsuitable parameters in the production process, raw material quality, tool wear, or internal handling of the profiles.
Manual Inspection Often Inadequate
Extruded profiles are often checked for defects using manual and visual inspection. The inspection is often carried out manually and by different people and is not homogeneous. The result is not objective and consistent, especially in the case of extruded profiles produced in multiple cavities. It is also possible that errors are overlooked that are not visible to the human eye. It also takes a long time for the results of the inspection to be applied to the processes.
Automatic Surface Inspection
In contrast, automatic surface inspections offer fast, reliable, and comprehensive detection and classification. The process has established itself as the standard for quality assurance in the production and forming of flat and rolled aluminium products. The system inspects profiles without restriction, in each case from up to 4 axes. After a teach-in phase, the system identifies and classifies all defects in the surfaces of extruded aluminium profiles and enables the finished profiles to be evaluated.
The accuracy of the inspection comes from cameras that continuously record images of the material with generating high-volume images. This allows the smallest scratches that are not visible to the naked eye to be recognized. Recognized areas will be classified. Result: higher productivity and predictive maintenance.
Process parameters can therefore be adjusted. The evaluation of the detected defects allows conclusions to be drawn about the quality of the raw material and the tool change. This inspection therefore ensures better quality of the extrusion profiles, continuous process control, and improved productivity and system performance.
All Categories
Neueste Beiträge
Mechanische Bearbeitungsarten von Aluminiumprofilen
Tags
MON-SAT 8:00-9:00
+91 69 863 6420


